Posts

Assignment No. 3: Reflection

Image
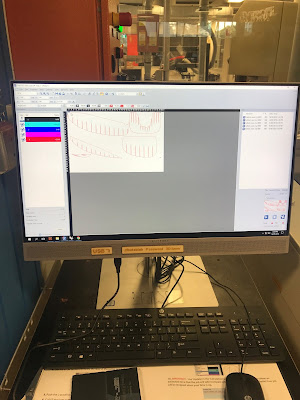
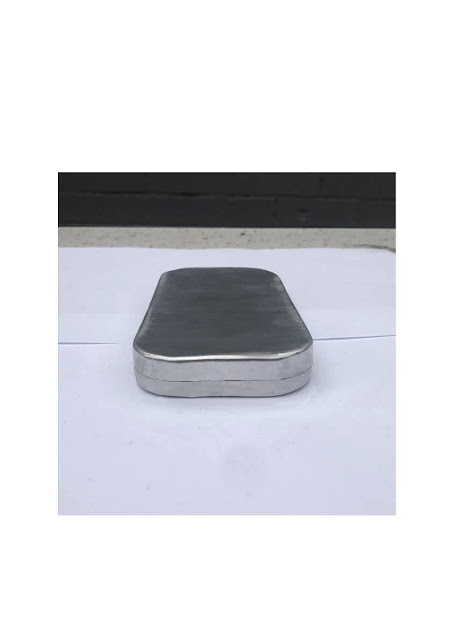
BEIL0014 Digital Making Assignment No. 3 - Reflection The first shaping exercise brought many challenges, however, it also allowed me to learn many skills and techniques that I would later utilise in the following shaping exercises. The making of the bowl comprised of three simple steps: Step 1: Laser cutting The laser cutter was used to cut a template for the bowl and a radius gauge that was used to help guide and evaluate our progress.  Step 2: Shrinking and stretching the metal. Using tools such as a nylon hammer and a sandbag the metal could be manipulated to create the shape of a bowl. Step 3: Planishing  Using an English wheel the surface of the bowl was smoothed and flattened.  During the process of making the bowl, there were many things within the above steps that I did well and many things that I would approach differently after completing the final assignment. The things I would approach differently would be: The amount of time I spent on the t

Assignment No. 2: The Fuel Tank

Image
The Fuel Tank INTRODUCTION: Assignment 2 required us to work within groups to create a full-scale motorcycle fuel tank. Firstly we were first tasked to create a 1:1 scale template replicating one of the motorcycle fuel tanks supplied. To do this we would utilise software such as Rhino, Autodesk, and Fusion360.  Following the construction of the 3D template, we were tasked to individually create an aluminum skin that would adhere to a third of the templates contours. PROCESS: Step 1: We measured key points on the existing fuel tank and utilised Rhino to create a 3D virtual model of the chosen fuel tank. Step 2: Using Fusion360/Autodesk Slicer we imported out Rhino stl. file and prepared the model for laser cutting by adjusting the size of the fuel tank and altering the thicknesses of the plywood joints. Step 3: Fusion360 generated template boards (400x800mm) to be laser cut, however, the boards did not utilise material as efficiently as possible. Using Adobe Illustrator

Shaping Exercise No. 3: The Tray

Image

Shaping Exercise No. 4: The Blister

Image
 Custom tool made from scrap timber. The custom tool was used to shape metal where the hammer couldn't reach. The custom tool was used in conjunction with a nylon mallet to shape the metal.

Shaping Exercise No. 2: The Torus

Image

Shaping Exercise No. 1: The Bowl

Image
The Bowl.  Creating the bowl involved 7 steps: Mark out the circumference of the bowl on a sheet of aluminum. Mark three guidelines from the center point to the outer edge of the circumference to be used later on during the shaping process.  Cut the circumference out using tin snips or the bench mounted shears. Use a nylon mallet and a 'stump' to begin hammering the outer guideline to stretch the metal and begin shaping the bowl.  Move the piece from the 'stump' to a sandbag and begin to hammer out creases along the edge and begin shaping the center of the bowl. Use the English-wheel to smooth hammer marks in the metal and finalize the shape of the bowl. (Optional step) Use a power drill and sanding attachment to create a brushed aluminum finish to the bowl.